TMC Motorhome Use Guidance
Thank you for choosing TMC Motorhome Hire! Before you take your vehicle, we’d like you to watch the following short video which will show you important information about how to use a motorhome.
Whether you’re camping at a site or wild camping, the videos explain levelling of the vehicle which is important for efficient use of the shower, wash hand basin and fridge, how to connect the utilities, gas, water, electricity, operation of the heating, hot water, TV and also emptying of the toilet.
You will find these videos on a memory stick connected to the TV, which you can view at any time at your leisure. Finally, the vehicle must be returned in a clean and tidy condition, with all internal surfaces wiped down. A charge will be applied if the inside is not returned in the condition it was rented. We will wash the outside of the vehicle.
Arriving on-site: Motorhome Use
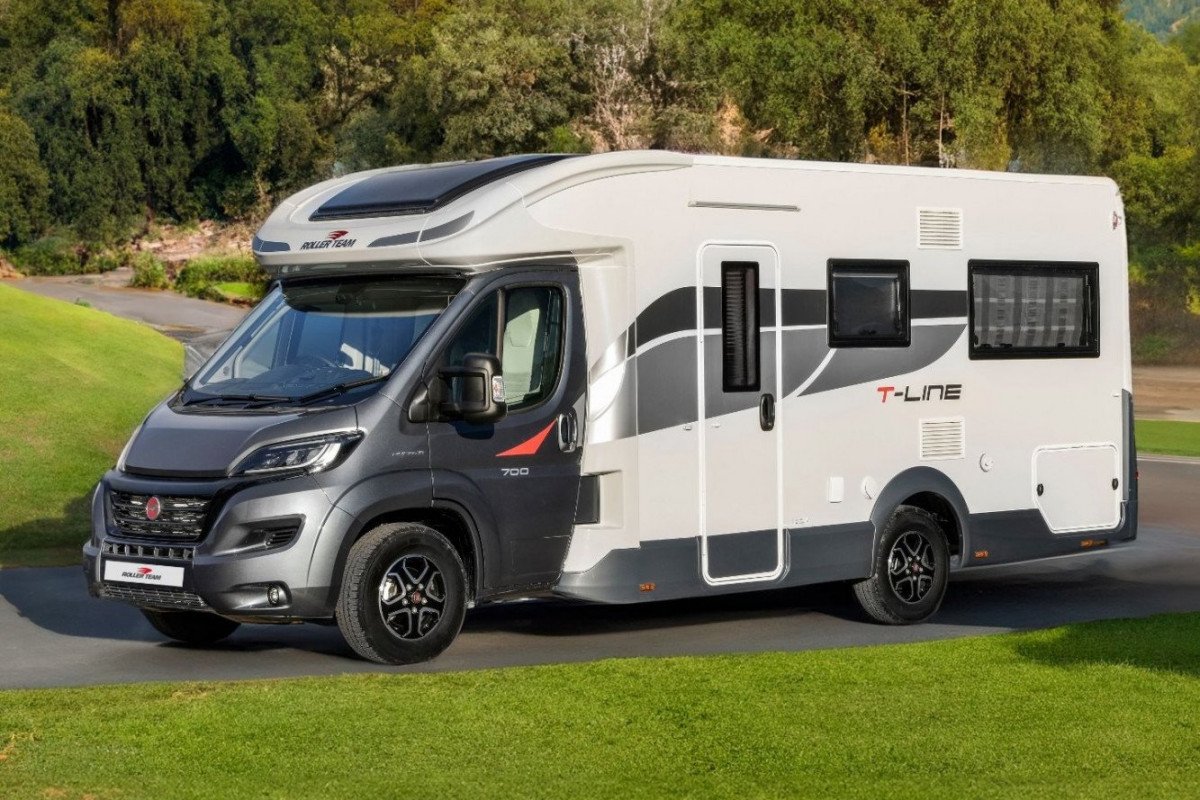
While the motorhome looks rather large, it’s actually not much wider than an ordinary car. The exterior mirrors are the largest part of the vehicle. When reversing, ask your passenger to walk and guide you. Explain to them that you can only see them if they can see you in the mirrors. Open both front windows so you can hear them and remember you can also see them in the rear overhead camera.
Levelling and connecting utilities:
It’s important to make sure the vehicle is level. This is crucial to ensure the fridge works correctly and for the correct drainage of the shower tray and sink.
More importantly, it can make sleeping uncomfortable. Inside the rear locker you’ll find ramps for levelling, a cable for connecting to site electricity and a hosepipe for filling the water tank.
Two levelling ramps are located in the rear locker. These can be used to lift one end, or alternatively one side. Make sure you drive slowly onto the ramp. Again, have a passenger guide you and once level apply the handbrake and leave the vehicle in first gear. To connect the electricity supply take the orange cable, and you must make sure it’s fully unwound.
Take one end to the camp supply. Connect the other end to the vehicle and ensure the excess cable is neatly stored under the vehicle as shown.
At the site electricity point, connect the van to the supply. Push in and twist to the right – you’re now connected. To fill the water tank you’ll need to unlock and remove the water tank filler cap, unravel the hose and insert one end into the vehicle freshwater filler hole. At the site water supply, use the supplied plastic connector and connect your hose.
You can either fill the tank until you see water coming out of the filler cap on the vehicle, or keep an eye on the tank capacity inside on the vehicle control panel. The gas tank compartment should be kept locked at all times. To turn on the supply, twist the top valve anti-clockwise to open. Again, make sure you lock the door and ensure the vents are never covered.
Water, heating, lighting and fridge:
So you’ve got the outside of your vehicle set up, it’s time to turn our attention now to the inside. We’re going to be looking at the main control panel which controls the water and the heating, the lighting and you can either watch the video again if you’ve got any issues, or you can refer to your Freedhome user manual for this particular vehicle.
Now, this is the main control panel. Don’t worry, it may look a little daunting but in a few minutes you’ll find your way around it no problem. First thing you’re going to do is switch the main power on – there we go, simple as that! Next thing, let’s power on the inside lights with this button. All will come on with this switch and you’ll be able to go round and switch off and on all the lights as you choose with the cabin wall switches.
Water pump:
Next we’ll turn on our water pump with this switch. This will control the water to the shower, wash hand basins and the toilet. Now you may wish to turn this off at night-time as it does regulate itself every hour which may unsettle you if you’re a light sleeper. Talking of water, let’s push this button and see how much we’ve got left in the tank – currently at 66% and as that percentage drops, you’ll need to put more water in the tank via the fill cap outside.
Let’s have a look at the temperature on the inside with this button – currently a very pleasant 24° inside. Please note that B2 selects the leisure battery which will power the inside of the motorhome when it’s not connected to an external power supply. If B2 is running low, simply switch on the vehicle engine and after about 10-15 minutes the leisure battery will be fully charged again. You should never use B1 to power the inside of the vehicle as this will drain the main engine battery and you won’t be able to start the vehicle.
Temperature control:
Now let’s turn our attention to the heater and hot water control unit. You’ll see the time and the display of the symbol indicating we’re currently connected to an external electricity supply. The first thing we want to do is push the centre button and we’re met with a lot of symbols. You only need to be concerned with those on the top row.
The lower ones are for service engineers only. So, first one, flashing top left is a flashing motorhome symbol. I’m going to push the big button once and you’ll see by turning this dial we’re able to adjust the inside temperature. I’m going for 20° today and I’ll push the big button again to confirm my choice.
This takes us back to the main display and using the round button, we can turn it to the next symbol. Push the big button and by turning the button here we can select our hot water temperature, either 40° or 60°. And by the way, at any point if you want to go back to the main menu, just push the back key which is here and that will take you back.
Turning the big button to the next symbol, we’re selecting our power. If you’re connected to a camp supply, EL 1 is for summertime and EL 2 for wintertime.
And you can also select gas if you’re not connected to a camp supply. Push the button to confirm and turn again to our next symbol. This is for the fan that pumps the heating or cooling throughout the inside of the vehicle. Push the big button and you’ve two options – Eco mode or High. We’re confirming on Eco. Push the back switch and we’re back to our main time screen and you’re all set up.
Fridge:
This is your control panel for the fridge and freezer. All you’re going to do to switch it on is push this button and hold it down until the light goes red. When the red light goes off, you’ll see the green display lighting here, showing that we’re running on external electricity and it’s set to three bars automatically.
You can of course increase or decrease the temperature depending on your own personal preference. When the vehicle is moving, it will run off the vehicle battery and when you’re parked up, if you’re not connected to an external electricity supply you will need to select the gas mode.
To do this, hold on this button until the power source flashes. Then use the right arrow key to select gas mode, push the button to confirm your selection and again the fridge temperature, confirm, simple. It’s worth noting that the fridge will work straight away if you’re on a camp site with electricity. If you’re wild camping and the fridge will be running on gas, it will take about 15 minutes before it starts working.
Empty toilet cassette:
To change the toilet cassette, unlock and open the compartment door. Put your fingers under the yellow latch, lift the latch and gently slide out of the compartment. If on a campsite, take to the waste emptying location. Unscrew the yellow cap as shown. Push the yellow button and empty the cassette. If you’re not on a campsite, you can do this in motorway service stations in the toilets. Screw on the yellow cap and to rinse the cassette, slide back the panel on the top and turn the yellow knob allowing you to dispense some water inside. Turn the knob again to close and slide the panel shut. Unscrew the cap and pour contents into the waste area, replacing the cap afterwards. As courtesy to other campers be sure to rinse the emptying location before returning to your vehicle. Once there, simply slide the cassette back in, close and lock the door. And remember to place one of the blue powdered sachets into the toilet.
Using the tv:
Now it’s time to get the TV up and running and it is worth bearing in mind that depending where you’re camping around the UK, you might get fewer or more TV channels depending on the area that surrounds the campsite. Also worth bearing in mind that if you’re vehicle isn’t connected to an outside electricity supply, you can use the 12V adapter lead and you’ll be able to plug this in just below the three-pin socket on the wall. To get the television up and running – very easy to do so. Just simply flick the rocker switch underneath and you’ll see the LED turns to red at the bottom right-hand corner. Next, on the remote control, the top round button, right there at the very top, the red one, you’re going to push that down and hold it. Don’t just push it once, hold it and point it at the TV and you’ll see that the red LED light will change to blue. Now depending on where you are around the country, you’ll probably need to retune the TV. Don’t be put off by this, it’s very, very straightforward and easy to do. Below the OK button and the arrows, there’s a little red button there. It says ‘AQT’ on it. Again, push, hold, point at the television set and once this menu appears, all you do is push the OK button. Get yourself a brew on, it’ll take about 5-6 minutes and when you come back it’ll be all tuned-in and ready to watch. Worth pointing out as well that there is a source button on this TV. Now the source button will take you to other options such as DVD, AV, HDMI and USB.
Changing the gas cylinder:
To change the gas cylinder, first turn the gas supply off by turning the top valve in a clockwise direction. Unscrew the connection between the vehicle and the cylinder, again in a clockwise direction. Undo the straps and remove the cylinder. The new cylinder is installed by simply reversing the process, ensuring you unscrew and remove the valve stopper first. Place the cylinder in the compartment and secure with the straps. Connect the cylinder to the vehicle by screwing in the black connector in an anti-clockwise direction and turn on the supply by opening the top valve, again in an anti-clockwise direction. And of course, make sure this compartment is locked afterwards.
Empty water waste:
When leaving the campsite, it’s important to empty your dirty water tank. Simply park over the waste water grate, pull the lever as shown and push back in place once all the water has drained.
Returning the motorhome:
Please remember that the vehicle must be returned in a clean and tidy condition, with all internal surfaces wiped down. A charge will be applied if the inside is not returned in the condition it was rented. Please make sure that the toilet is returned clean, empty and recharged. We will wash the outside of the vehicle.
Thank you for watching. Remember you can watch these individual videos again on the TV by selecting the source button and scrolling down and selecting USB. Thank you for watching and enjoy your adventure.

